Product Description
Detailed Images
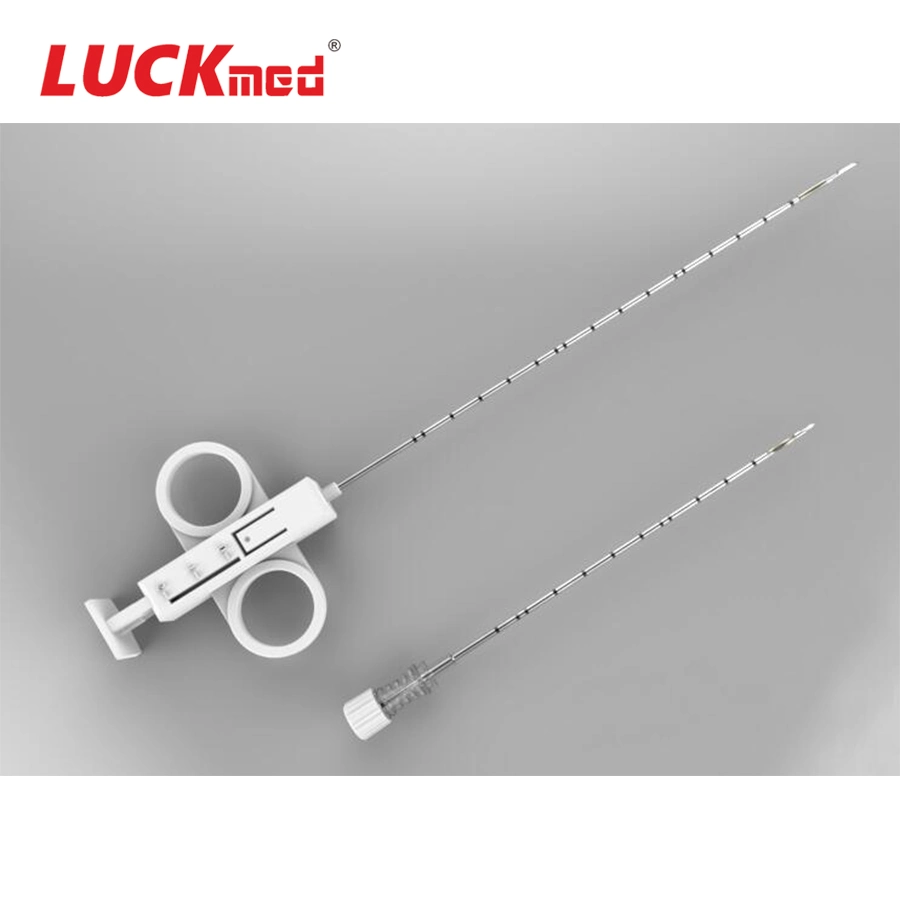
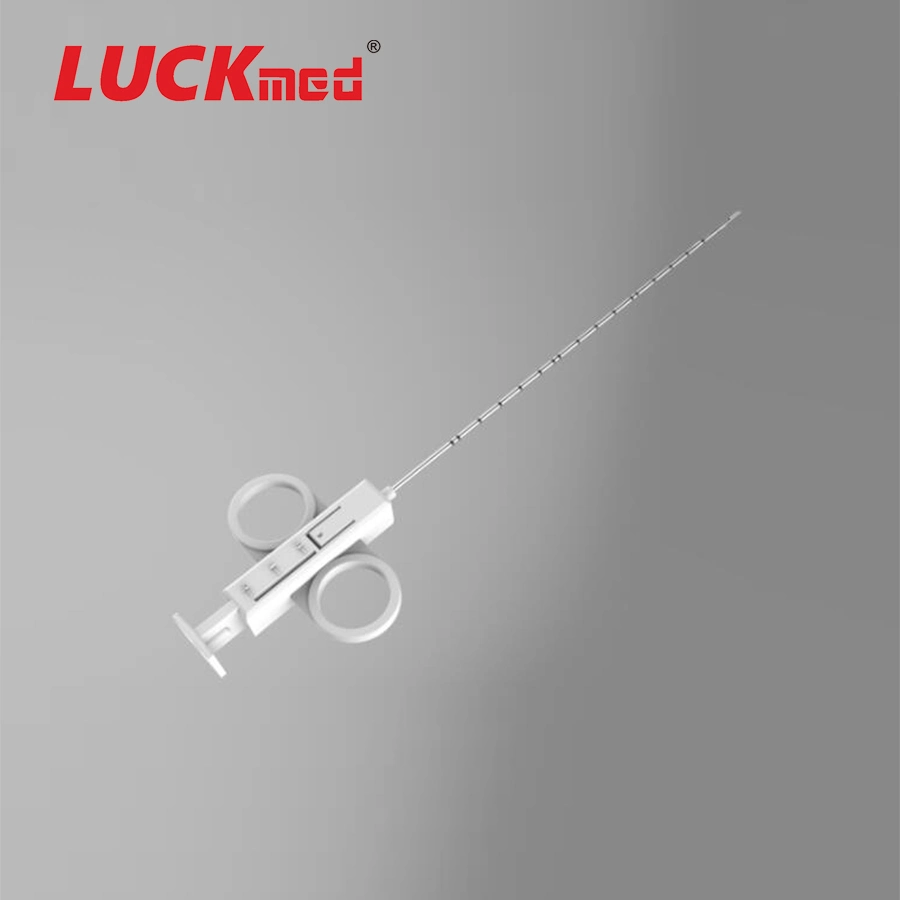
It is widely used for organs such as kidney, liver,lung, breast, thyroid, prostate,pancreas, body surface and etc. with solid tumor or unknown tumor to take sample of living tissue, do cell aspiration and liquid injection.
Detailed Images
Specifications
Product name | Specification | Length | Groove length | Qty/ctn |
Semi-automatic Biopsy needle gun | 14G | 10cm/15cm | 1.5cm | 200 |
16G | 200 | |||
18G | 200 | |||
Semi-automatic Biopsy needle gun with Position needle | 14G/13G | 10cm/15cm | 1.5cm | 200 |
16G/15G | 200 | |||
18G/17G | 200 |
Remark: The size in chart is regular. Special size and needle bevel can be customized .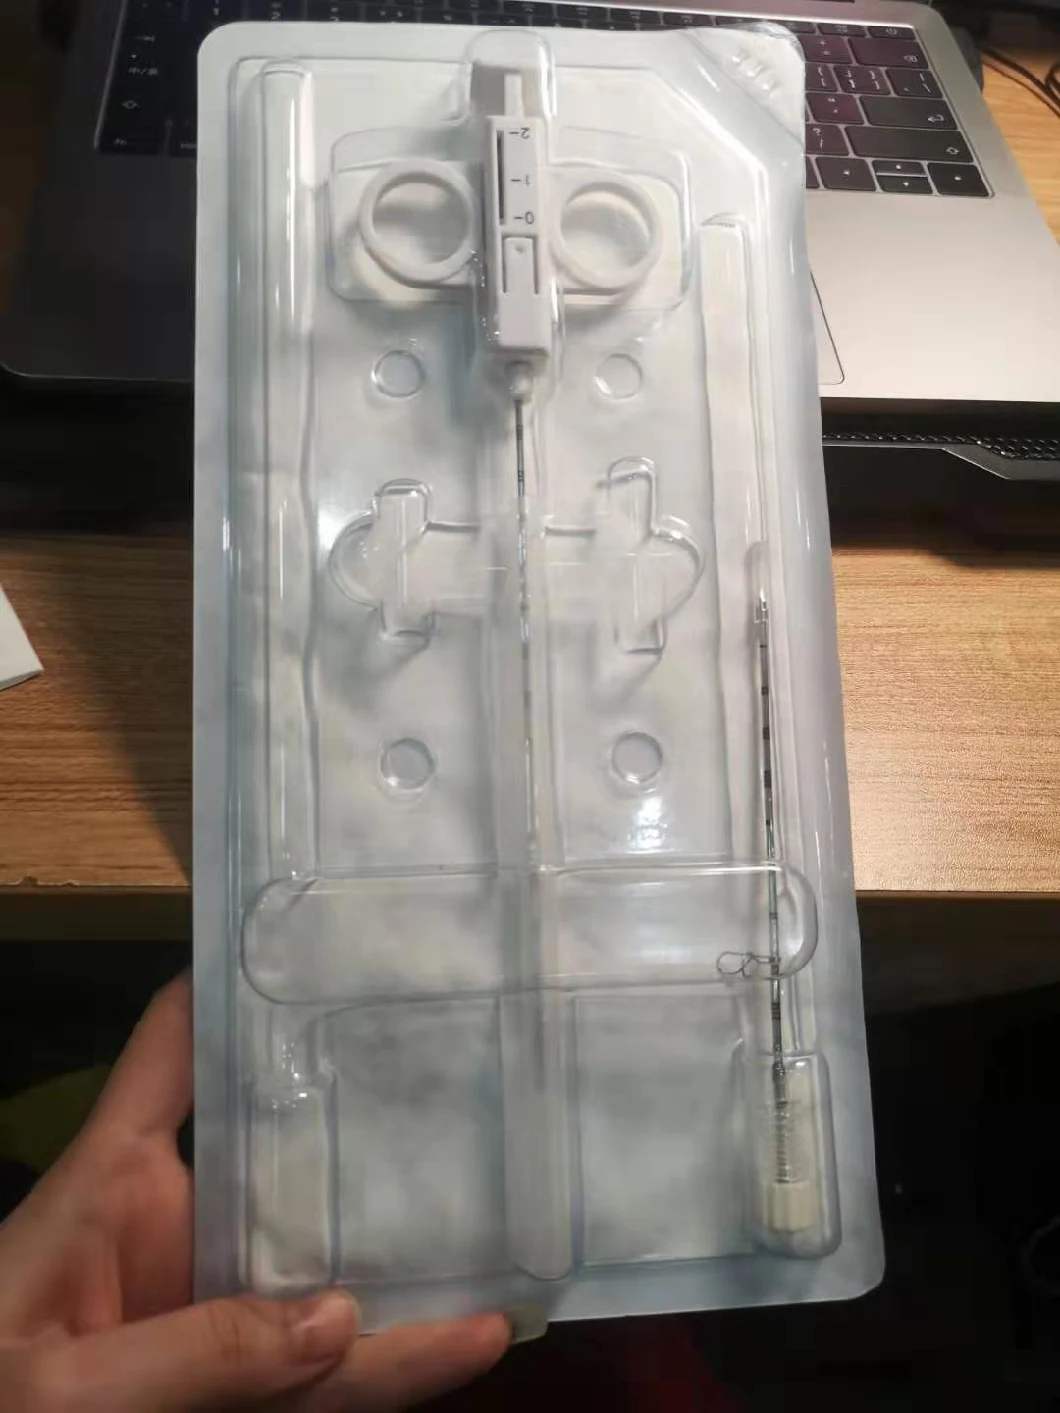


Directions For Use
1. 0pen the lockpin before using in case of misoperation and cutting the casing.
2. Take the shell or armrest in one hand and plunger in other hand, pull core needle to 1-2cm high position.
3. Insert the biopsy needle into the forward position of biopsy tissue in condition of the biopsy groove of core needle totally retract into incised casing.
4. Clench shell tightly, push the plunger with thumb. Make biopsy groove of core needle enter into biopsy tissue, move puncture needle 1-2mm forward and backward to ensure the biopsy groove can enough fill with samples.
5. 0pen the lockpin, push the plunger to bottom with thumb, trigger casing cutting automatically, cut the tissue and storage it into biopsy groove.
6. Hold casing set in one hand and shell in other hand, make the shell spin counterc lockwise and loose the lock then pull out core needle to cover the casing, draw samples and do medicine injection multiply.
7. Take tissue samples down then put them into fixative to do fixation and inspection. Then leave biopsy needle in special collect ion instruments.
8. If there is a need to get sample,the biopsy needle can be inserted i multiply nto casing again and can adequately change the direction of casing appropriately to enter lesion.
9. After biopsy is done and there is a need for injection, spin syringe clockwise to settle it into taper bore of casing set,injecting related medicine in to casing and put biopsy needle in special collection instruments after finishing.